How to compare and synchronize two folders quickly
I guess you often need to quickly check two folders for any differences in their contents, and then synchronize them to make their contents identical. Surely, it’s possible to create and execute a special synchronization profile. But if you only need a one-time synchronization, creating such a profile might be a waste of time.
@MAX SyncUp lets you compare and synchronize two folders in a few clicks right from Windows Explorer.
Say you want to see the difference between the clip arts on your laptop and on your desktop PC, and then copy the missing files to the laptop. Let’s assume that you have installed @MAX SyncUp on your desktop PC, and that the laptop folder is accessible via the network connection.
To compare and synchronize two folders, follow the steps below:
-
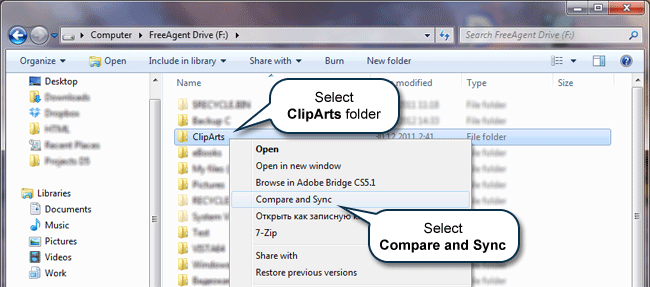
Open Windows Explorer on your desktop PC, select the folder with the clip arts, right-click to open the context menu, and then select Compare and Sync.

That’s how you launch the Compare and Sync folders wizard.

-
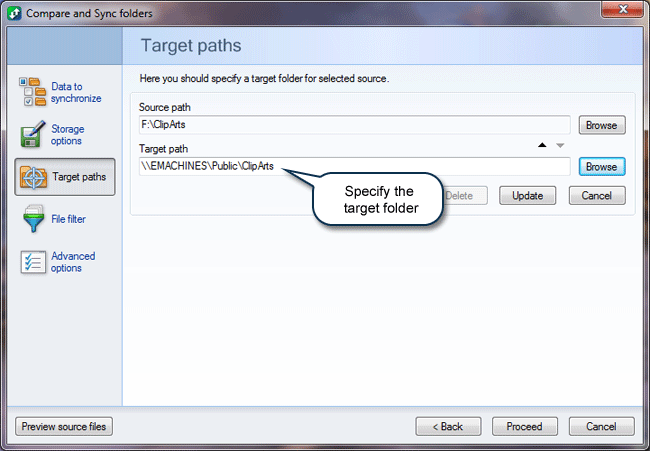
Use the Browse button to specify your laptop’s folder with the clip arts in the Target path field.
That’s all! Now click Proceed to start the comparison.
In more complex cases, you may want to do the following first:- Change the set of data to be synchronized on the Data to synchronization tab,
for example, to exclude some subfolders from synchronization; - Select the location (FTP or Google Drive), type, and other storage parameters for the target folder on the Storage options tab;
- Specify the filter for the files to be synchronized on the File filter tab;
- Set up additional parameters on the Advanced options tab.
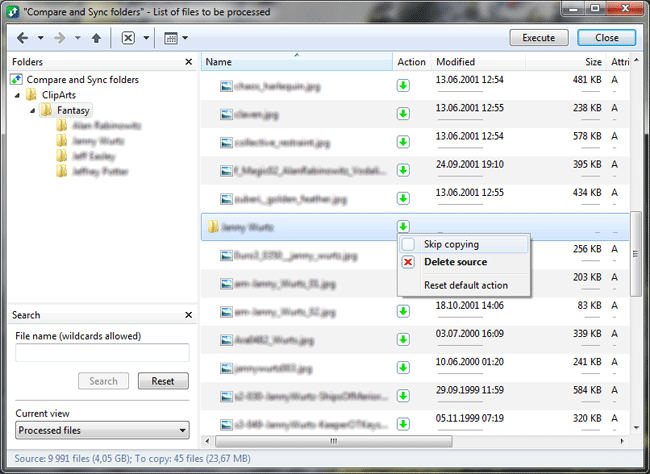
After the folders have been compared, a preview window will open to show you the files that will be synchronized.

- Change the set of data to be synchronized on the Data to synchronization tab,
-
Here you can view lists of identical files, different files, files to be synchronized, and so on. To do that, set up Current view as needed. You can also manually modify the actions for certain files or folders that have been automatically designated for them.
Make sure that the application will do just what you want, and then click Execute to start synchronization, or click Close to discard the changes and close the window.
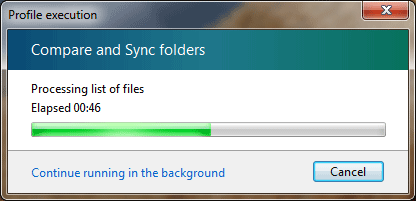
After the synchronization is done, you can read the results report in the Consolidated Log in the application’s main window.


