How to restore files
@MAX SyncUp offers an easy way to restore files from the backup that you created earlier. To restore data, you need to open the Quick restore wizard that will take you through the whole process of restoring files from a backup location step by step.
Let's say, for example, you need to restore a file from the archive of documents which is created with profile that was configured in the chapter How to back up files.
To restore files, follow the steps below:
-
Run the program.
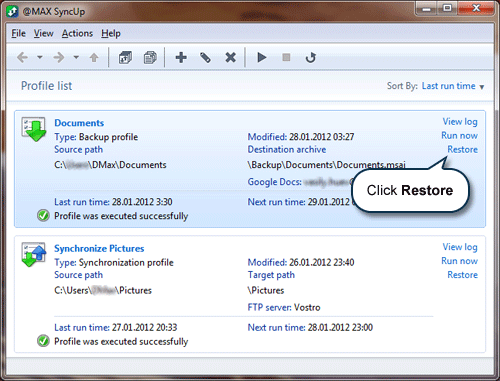
The main window shows available profiles. Each backup profile has a link called Restore. Clicking on it lets you open the Quick restore wizard that will help you restore data.
-
Click Restore.
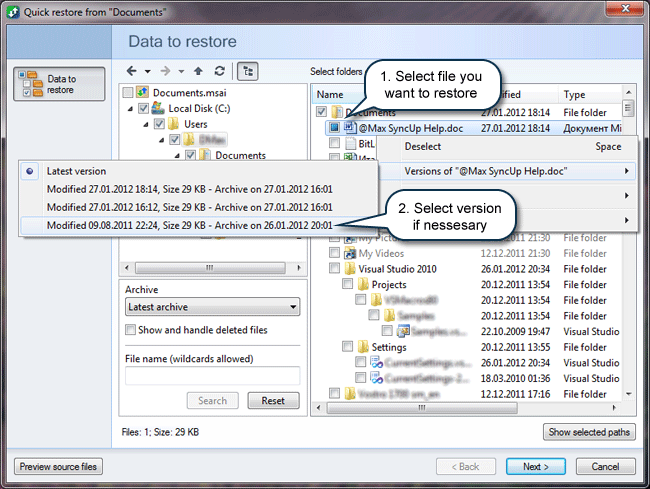
This opens the first tab of the wizard where you should select the files you want to restore.
-
Select the files you want to restore. Optionally you can specify the date of the archive and therefore the version of the file to be restored. Then click Next.
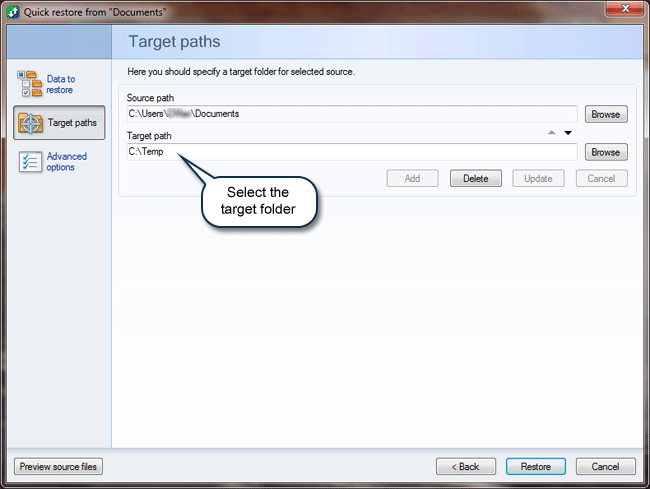
This opens the tab where you must select the target folder for restored files.
-
Set the target folder for restored files and then click Next.
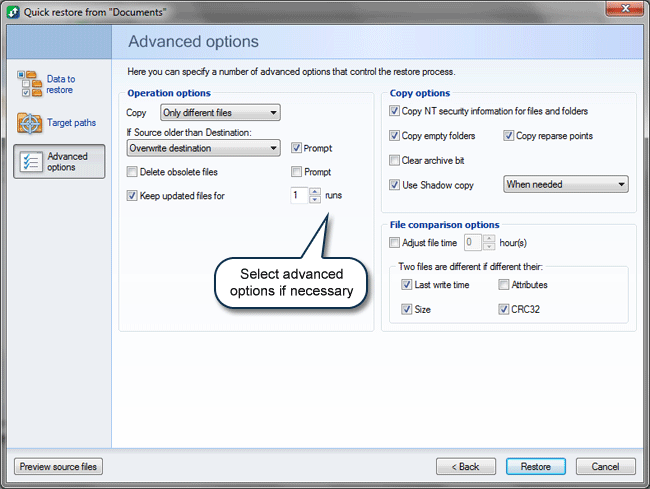
The next tab allows you to specify advanced options.
-
Specify advanced options and then click Restore.
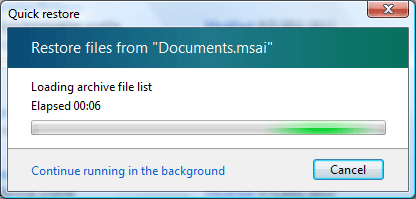
The program will begin to restore the selected files in the target folder.
